Spikey, over at the Sierra Help forums, started a High-Resolution project for Gabriel Knight 3. And it’s pretty simple to do!
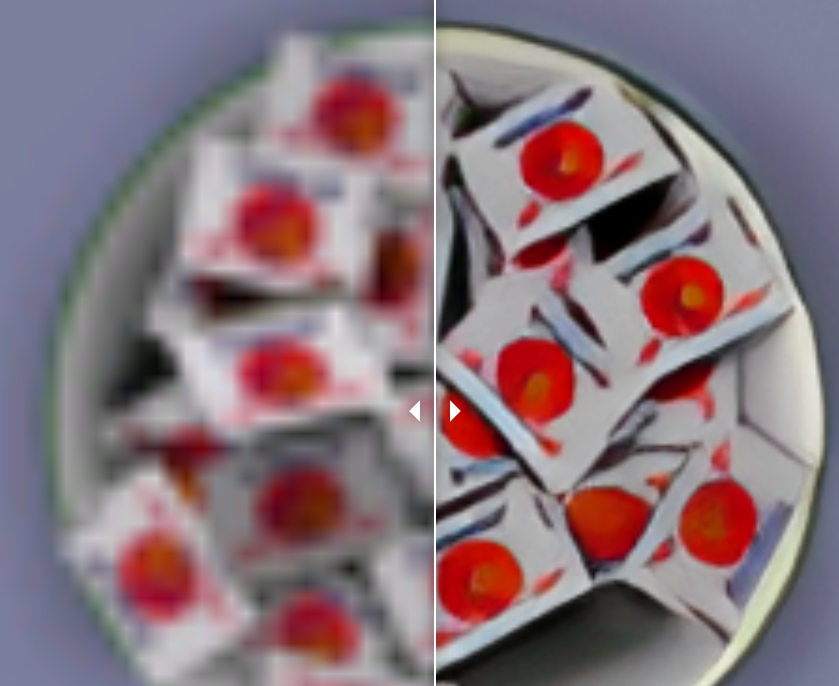
For example, the left is from the game, the right is Spikey’s adjustment:
So how does it work?
Glad you asked!
Installation:
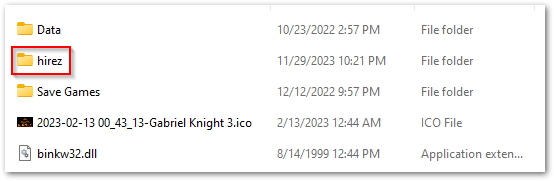
- Create a new folder within your GK3 folder and name it anything, put all the files from the zip in it (for example: hirez)
- Edit (or create) gk3.ini with a text editor and put the line
- CUSTOM PATHS = YourFolderName
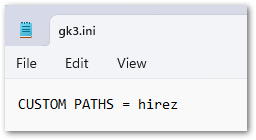
Unzip the following into that directory (hirez, in my example)
Note: You may get a warning that the file/download is not secure. That is because I have not purchased the SSL certificate from the website provider as it has additional fees for maintaining.
- Download the texture pack (http://www.larrylaffer.net/gk3/Pack1-version2.zip)
- This updates the general textures in the game
- Download the Pack Clothes (http://www.larrylaffer.net/gk3/Pack-Clothes.zip)
- This updates the clothing texture worn by the people in the game
- Download the Pack Wallpapers (http://www.larrylaffer.net/gk3/Pack-wallpaper.zip)
- This updates the wallpapers found in the various rooms
Additionally – did you know that Gabriel was originally set to change his shirts as the days passed by? For reasons unknown, Gabriel ended up remaining in just his white t-shirt.
If you want Gabriel to wear the green or yellow shirt on day 2, drop the corresponding files in the folder and overwrite. Note that you will have to overlook the BNK video late at night when Grace goes from her date with Wilkes to Mosely’s room, where Gabriel wears the white dirty shirt. He does have plenty of time to change into that of course for whatever reason, but he’ll be back in either yellow or green at Day 3 2AM before reverting to the clean white shirt for the rest of day 3.
- Download Pack Gabe Yellow Day 2 file (http://www.larrylaffer.net/gk3/Pack-Gabe-YellowDay2.zip)
- Download Pack Gabe Green Day 2 file (http://www.larrylaffer.net/gk3/Pack-Gabe-GreenDay2.zip)
Unzip these files into the folder you created (for example hirez). Make sure the files are unzipped there. When you choose where to unzip the file – make sure it’s not creating sub-folders in the directory you created – but actually placing the files there.
Next?
Launch Gabriel Knight 3 and enjoy.
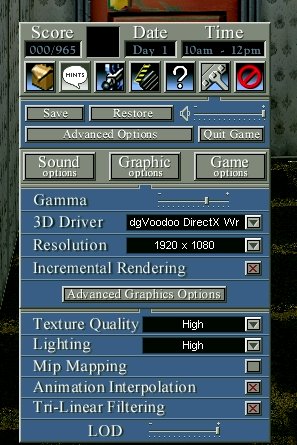
PS: If you still don’t see it – go into GK3’s options in the game, make sure the textures and lighting are set to “High” – see below.